Showing posts with label FO. Show all posts

Friday, May 18, 2012

New top

New top

A lot has been happening around here. Unexpected (painful and expensive!) dental work, job interviews, warmer weather and several sewing projects have kept me away from this space for long enough that I don't recognise Blogger. It took me a few seconds to figure out how to publish a new post.

New top

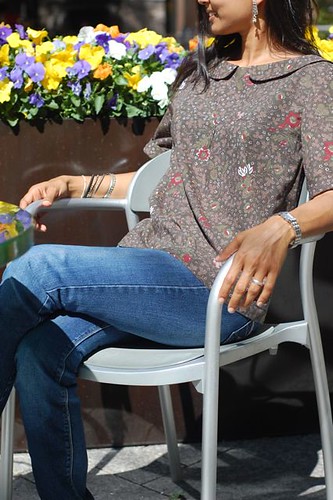
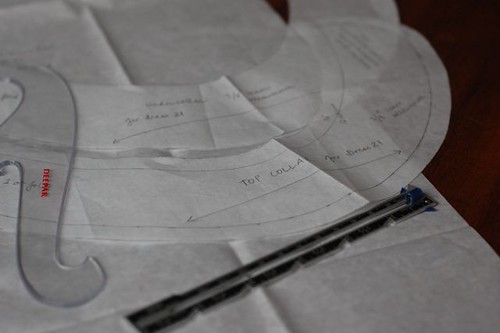
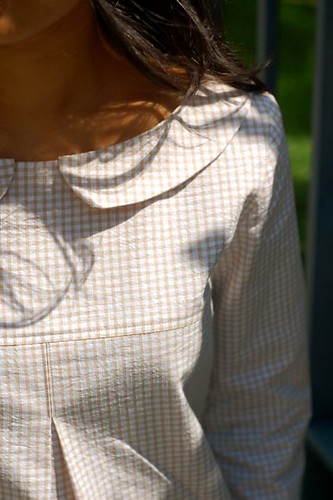
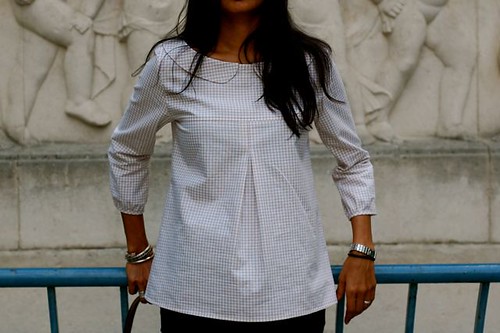
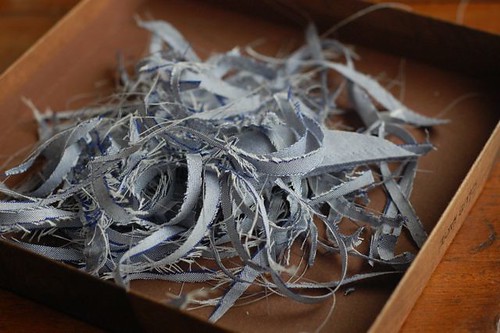
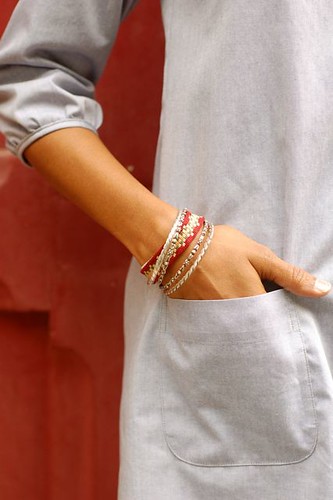
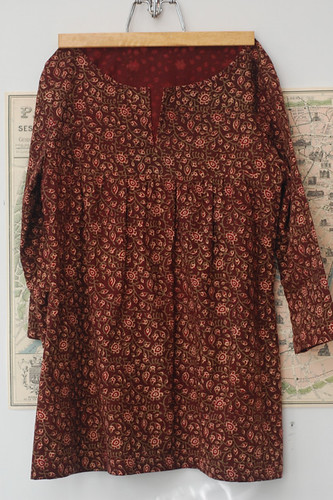
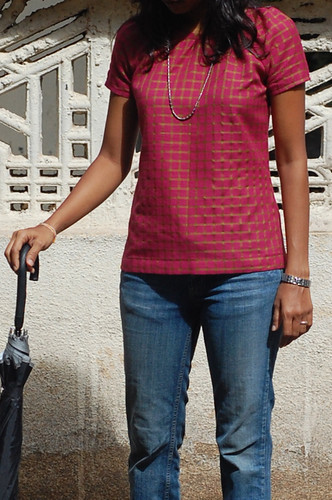
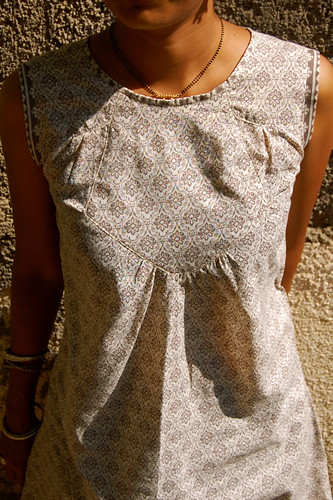
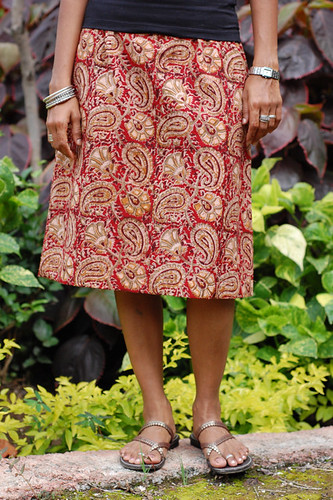
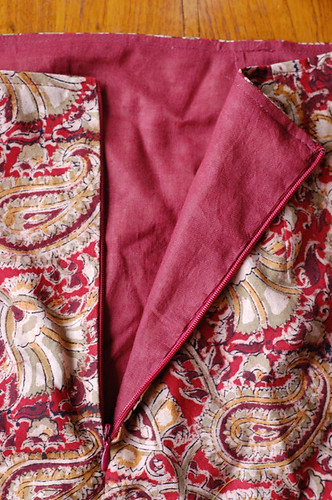
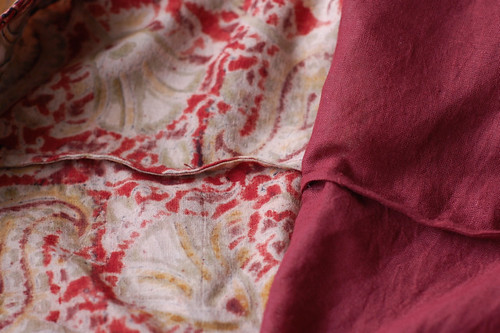
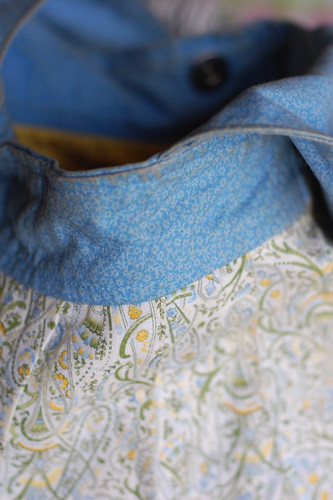
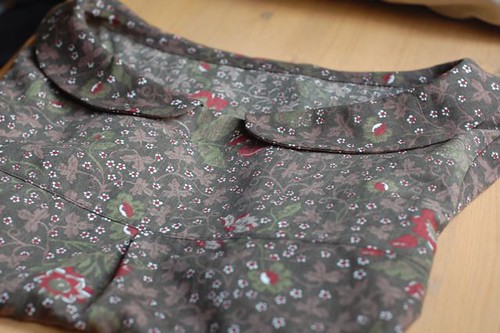
Anyway, after a frustrating morning of drafting a new sloper (more on that later) a few days ago, I was looking for an easy project. The fabric is from a thrift store that I've had in my stash for several years now. The colour is not especially an harbinger of spring but the fabric is soft and very thin; perfect for warmer days.

New top

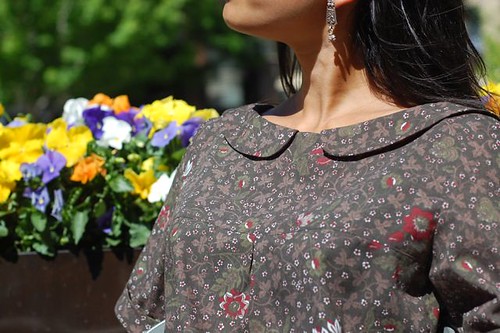
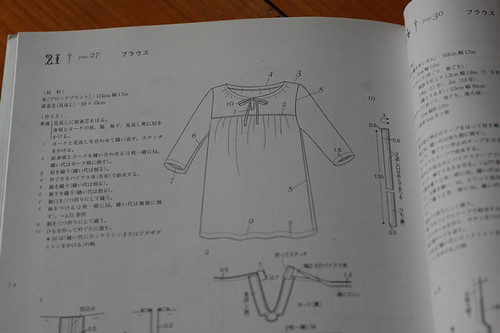
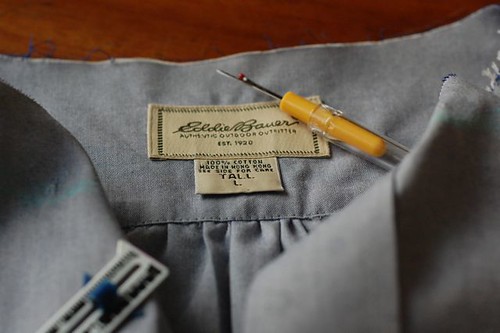
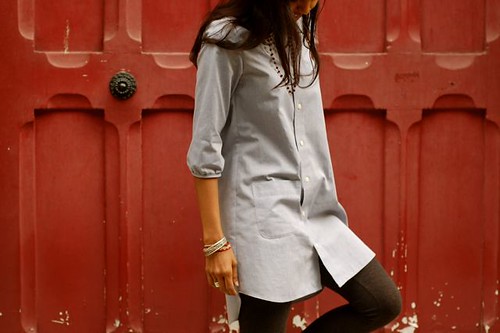
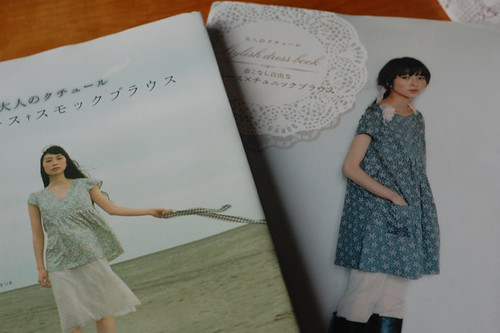
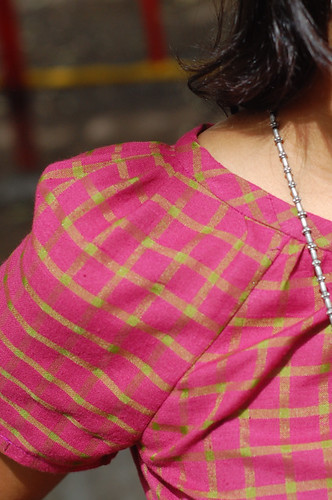
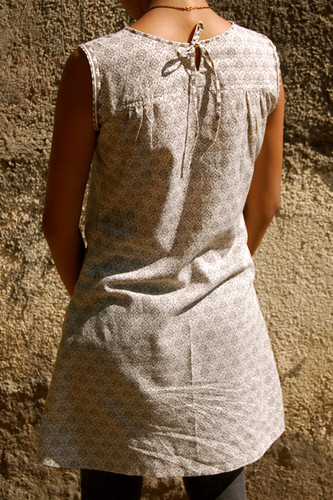
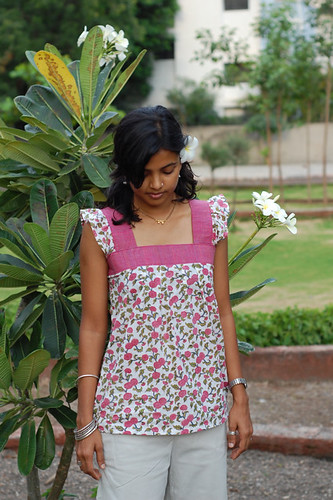
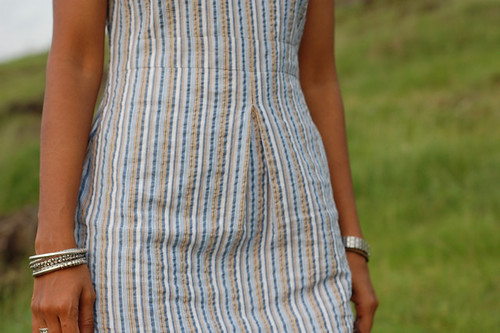
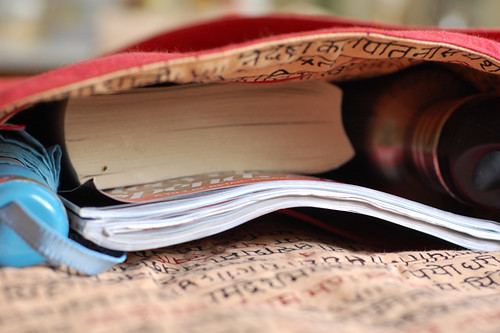
I've made different versions of this top a couple times before. The original pattern is from this Japanese book but I've changed the pattern considerably. This time I made a short-sleeved version with cuffs and didn't sew down the inverted pleat. It made for a quick and easy project!

New top

Have a wonderful weekend!

Monday, July 18, 2011

New top with Peter Pan collar

Drafting Peter Pan collar

I finally drafted a Peter Pan collar using Gertie's three-part video tutorial that I've had bookmarked for a few months now. Gertie's tutorial is very detailed, and overall, I found the collar quite easy to draft, as I followed her directions exactly.

Adult Couture Dress & Smock Blouse

I drafted the collar for a smock pattern I've made before from this Japanese book. Once I sewed the collar pieces together, I wasn't quite sure how to attach the collar to the top but it worked out rather well in the end. I used a 2" bias strip folded in half as a facing, and again, followed Gertie's directions.

New top

As for the smock pattern itself, I changed quite a bit. I obviously left out the ties and slit down the front. I also reduced the front piece by about 1" on the fold for a better fit, and converted the gathers of the original pattern to an inverted pleat in the center. I added gathers to the sleeves by extending the original sleeve about 1" on either side at the cuff end, and finished the sleeves with bias tape.

New top

Even after having washed it once, the fabric is a little stiff owing to the sizing but I'm hoping it will soften with use. It was a cut-piece of about 1.5 meters that I picked up months ago for five euros, so I can't complain. It was perfect to practice new drafting techniques!

New top

I'm most chuffed about having drafted a Peter Pan collar, and about manipulating the smock pattern to make something different. I love this top! Despite the sleeves, it feels summery, and since Paris has remained rather cool this month, I really appreciate having sleeves.

Thanks to my husband for taking all the photos!

Monday, June 27, 2011

Refashion

Men's shirt refashion

For several years now, I have been wanting to refashion one of my husband's shirts into a dress for me. I have a small pile of his shirts that have either shrunk in the wash or that never fit him well to begin with, slowly accumulating in India and the US. Since storage space is notably scarce in our rented Parisian apartment, there really is no room for piles of anything. So I finally gave it a go, taking inspiration from Antoinette and her clever refashions.

Men's shirt refashion

I was working with a large-tall Eddie Bauer shirt, so I had quite a bit of fabric to work with. I started with ripping out the collar and the shirt pocket. I initially wanted to keep the collar stand but it was much too large, and it had to go. After I cut along the side seams on the body and sleeves, I converted the box pleat on the shirt back to gathers.

Men's shirt refashion

I used a self-drafted pattern to cut out the shirt fronts and back, and the sleeves. The sleeves are my favourite part!

Men's shirt refashion

I also sewed the original pocket back on the right front of the dress.

Men's shirt refashion

I added small gathers to the shoulders, which you can't see very well in these photos, and I left the back of the dress longer than the front (inspired by Wiksten's Lissa dress).

Men's shirt refashion

I finished the entire dress with french seams, and I had enough fabric left over to make bias tape, which I used to finish the sleeves and neck. I wore it the day to wander around Paris!

Men's shirt refashion

Thanks to my husband for taking all the photos of me in my new, refashioned dress.

Friday, January 28, 2011

Japanese smock

Browsing book shops in Japan

I bought a couple of sewing books on my quick trip to Japan last month. It was difficult to decide which ones to buy, there were several shelves of books to pick from!

Japanese sewing books

My decision to buy the ones I finally chose was influenced by the many lovely creations I have come across online. Most of the patterns in these books have clean lines and are minimalist, which I find very appealing.

Adult Couture Dress & Smock Blouse

I picked Smock no. 21 from the Adult Couture Dress and Smock Blouse book (yes, it translates to a rather odd title in English) as my first project. I don't read Japanese but the drawings provided sufficient direction.

Japanese smock: #21

I traced out a size 7 but took in an inch or so at the sides, and left out the ties in the front.

Japanese smock: #21

I've never sewed with any material other than cotton and (occasionally) silk, so my fabric selection stays pretty limited in the winter months. I used a lovely cotton kalamkari from in India, not at all suitable for winter, but I wear it over a wool turtle neck top, which works pretty well. I'm hoping to try my hand at sewing with other materials soon.

One last photograph of me taken by mon marie at the Musée de la chasse et de la Nature in front of a forest made out of corrugated board!

Japanese smock: #21

Wednesday, January 19, 2011

Red tweed beret

You sure do see a lot of berets in Paris, although I've noticed that people here don't wear knit hats much. If they do, their hats are mostly slouchy, and they are saved for the coldest of days.

Red Tweed Beret

I have been guilty of enjoying my red beret for the last two months without posting about it. We even had the sun peek out of the clouds for a few minutes back in November, long enough to take a few photographs.

I used the Tweed Beret pattern by Kirsten Tendyke from the Winter 2006 issue of Interweave Knits, and a little over one ball of Debbie Bliss Donegal Luxury Tweed Aran. I haven't yet blocked it, so I'm not sure if it will grow or shrink, but for now, it's perfect.

Red tweed beret

It sits nicely on the top of my head, doesn't slide down over my eyes, and the knitted fabric stays pouffy and beret-like.

Red tweed beret in the city

I'm unintentionally wearing three hand knit items in this photo - my beret, a knit scarf (to be blogged), and my hoodie-less Central Park Hoodie (knit before I started this blog).

I'll leave you with one last photo, where I follow a fellow red beret wearer up the stairs. In case you are wondering, hers was not hand knit.

Chasing another red beret

Thanks to my husband for taking the photographs!

Wednesday, July 7, 2010

Built by me: Simplicity 3835

I had cut out the pattern to make view C several months ago but never got down to sewing it. That's certainly not because it's a complicated one! I've used this pattern at least three times before so it was a good way to dust off my sewing machine, which incidentally needed some coaxing before it started working again.

Simplicity 3835

The fabric is a bright cotton-silk blend. I cut out size 4 but used 1/2" seam allowances instead of 5/8". I could just as easily have cut out size 6 and stuck to the 5/8" seam allowance. I used back darts for some shaping and skipped the elastic for the sleeves and neck to give it a more classic look. Besides, I wanted to tweak the pattern a bit to make it a little more challenging!

Simplicity 3835

In lieu of the elastic, I made some pleats on the sleeve caps and gathers around the rest of the neck, and used bias tape to finish it. Initially, I didn't make any neck gathers but it was gaping pretty badly, so I had to incorporate a few.

Quick, easy and a pop of colour to compensate for grey monsoon skies!

Monday, December 14, 2009

Built by me

Built by me

I picked up this popular Built by Wendy (Simplicity 3964) pattern on my trip to the US couple of months ago. I used a light-weight cotton to make a wearable muslin. I wanted it to be long enough to wear with tights in India but I ran out of fabric for the sleeves. I don't care too much for the sleeves in the pattern anyway! I cut out the smallest size (size 4) but I should have made the armhole cuts a little deeper. I can't comfortably wear this top over a t-shirt on cooler days.

Built by me

The hardest part for me was sewing in the inset. I find it difficult to make gathers on this sewing machine. It's easy to change the stitch length but I can't adjust the tension, which makes it a little tricky to pull up the gathers without breaking the thread. So the gathers are not spread out evenly but I don't mind too much.

Built by me

The ties at the back are a fetching detail but you'll have to excuse the wrinkles - I had been wearing this top all day before the photographs. I used french seams and took in about an inch on either side to make it a little more form fitting. I'm very happy with how neat it is on the inside. All in all, it's a cute top with much potential. It's not quite cold enough here but it would make a great jumper in a heavier fabric.

Thanks to my husband for indulging me and taking the photographs!

Monday, November 16, 2009

Spring Ruffle top

Spring ruffle top

Still reporting grey skies, but here is a top I made a while ago when the weather was more spring-like. I used this tutorial by Rae from Made by Rae blog. Simple, cute and quick, the pattern can be customised to fit any size.

Up next, a post about our trip to Mahabaleshwar.

Tuesday, September 8, 2009

A new top

New top

I bought a couple pairs of tights recently (the wonderfully pleasant weather made me do it), but I didn't have a sigle top in my wardrobe that I could wear with them. So I decided to make one.

Using my pattern making book and the Burdastyle website, I finished drafting a basic bodice block. I then lengthened it to make a hip block. It had to be sleeveless, since I only had about a meter to work with, and I hadn't drafted a sleeve block yet. I made a few sketches, and had a lot of different ideas in my head, but this is what I came up with in the end.

New shirt

It was very breezy on the hill!

New top

I kept it simple, but threw in a waist band and pleat for interest. I used bust darts and back darts for shaping, finshed the neck using interfaced facing, and made bias tape using the left over fabric to finish the armholes.

I really enjoyed my outfit yesterday - I wore it all day long! Thanks to my wonderful husband for taking the photos.

Thursday, August 20, 2009

A-line skirt

A-line skirt
Photo taken by my husband.

You are probably getting bored of seeing this fabric. I know my husband is! My apologies. It was relatively inexpensive, and I might have bought more of it than I know what to do with. For my self-drafted skirt pattern, I wanted to make a wearable muslin, and this fabric fits the bill rather well.

A-line skirt

I lined the skirt and used an invisible zipper. I don't have changeable feet for this sewing machine, and I was a bit skeptical about using the regular foot to put the zipper in, so I started sewing it by hand. My husband had to only ask why I wasn't using the machine, and I promptly abandoned the hand sewing, and gave it a shot on the machine. I'm glad I did; it turned out very neat, and pretty nearly invisible.

A-line skirt

I also tried french seams for the first time, and I am a fan. I'm not sure why I haven't tried it before. I have been noticing that a lot clothes I have purchased in India have french seams. I don't own a serger (although, I do covet one), and my machine doesn't even have a zig zag stitch. I see a lot of french seams in my future :)

A-line skirt

The only thing I would do differently is get rid of the darts in front. The darts on the back look very nice, but the ones on the front look bunched up and frumpy. I don't think I really need them, and will leave them out next time.

On the whole, my first attempt at drafting was a success - the skirt is very wearable. What started out as an intimidating processes, ended up being a very satisfying experience. I am already working on a basic bodice block.

Unrelated - but we saw this little guy on our way back home. It might be the tiniest toad I have ever seen!

Tiniest toad

Monday, August 17, 2009

Luggage tags

Luggage tags
I didn't mean to make them quite this large or this sturdy!

When my mum mentioned that she needed luggage tags for an upcoming trip, I offered to sew her a couple. I didn't think it would take too long for me to whip them up. But when I realised that I didn't have any vinyl or plastic on hand, I had to put on my thinking cap and improvise.

Luggage tags
I knew these conference name tags would come in handy some day.

My husband and I attended a conference several weeks ago, and I distinctly remember making a suggestion to the conference organisers to recycle the name tags. I even remember being disappointed when they didn't. But I'm glad I brought them back home with me with the hope of reusing them. I finally did!

Luggage tags

I didn't fully know what I wanted the tags to look like, so it took me much too long to finish the first one (I had to rip out quite a few seams). The second one was a breeze to make. I used bright scrap fabric, a couple of wood buttons and two of my hair ties. My mum loves them, and is now worried that someone might pinch them. Only in India!

Sunday, August 16, 2009

My week

I sewed like a fiend on Tuesday...

Buttercup bag Buttercup bag
My first time sewing with silk. Very nice.

We went to a wedding on Thursday and Friday...

Mehendi
Apres mehendi (henna)

And we celebrated our third wedding anniversary on Saturday...

Anniversary sparkling wine
I made some Chicken biryani to go with the sparkling wine.

It's Sunday already and now it's time for an afternoon nap. I finished making my a-line skirt a couple of weeks ago, but haven't been able to take a photograph yet. Perhaps tomorrow.

Wednesday, July 29, 2009

Monkeys in Maharashtra

Langurs at Daulatabad fort
Langurs on a temple roof

I had to make an unexpected trip to Aurangabad for work last week. Since my husband hadn't been to this part of Maharashtra before, he decided to come along. We were able to take in quite a few of the sights around town. The weather was perfect for the most part, cool enough to knit, and I was able to finish my Monkey socks.

Monkey Socks

I used size 0 needles and followed the pattern as written with the exception of adding a picot edge. I enjoyed knitting this pattern, and look forward to using it again.

I have a big report due this month end, and as usual, I'll have to scramble to get it done. So no sewing till I finish work, but I hope to upload some photos from our trip soon. Stay tuned.

Sunday, July 19, 2009

Diana messenger bag

Last year, I made three bags using Amy Butler's Birdie Sling pattern. I gave two away as presents, and kept one for myself. It is the perfect size for me (80% of the original pattern), and very sturdy, so I brought mine with me to India.

Amy Butler Birdie Sling

I have been using it almost every day since I got here, but as you can see, it shows dirt very easily. I figure India is a *touch* dustier than the U.S., because I can swear it never got so dirty there! Although the bag washes well, I have to wash it quite frequently to keep it clean. I decided to make a new one, using a darker fabric. Besides, I wanted to test my newly repaired sewing machine.

Diana messenger bag

I used the Burdastyle Diana bag tutorial, and added a few features - a zippered pocket at the back, and a simple slip pocket and another zippered pocket on the inside. I used two layers of interfacing on the strap to make it sturdy, and used a magnetic clasp to keep the flap closed.

Diana messenger bag

Photo taken by my husband.

Diana messenger bag

It easily holds an umbrella, a book or two, my wallet, my water bottle, and a snack. I think it'll see a lot of use, and also keep my other bag looking clean, longer. I really like it! So do my husband and sister, who have both put in a request for a bag of their own!

Happy Monday.